Search This Blog

Showing posts with label Shane Sheils. Show all posts

Friday, February 01, 2013

A few images.....

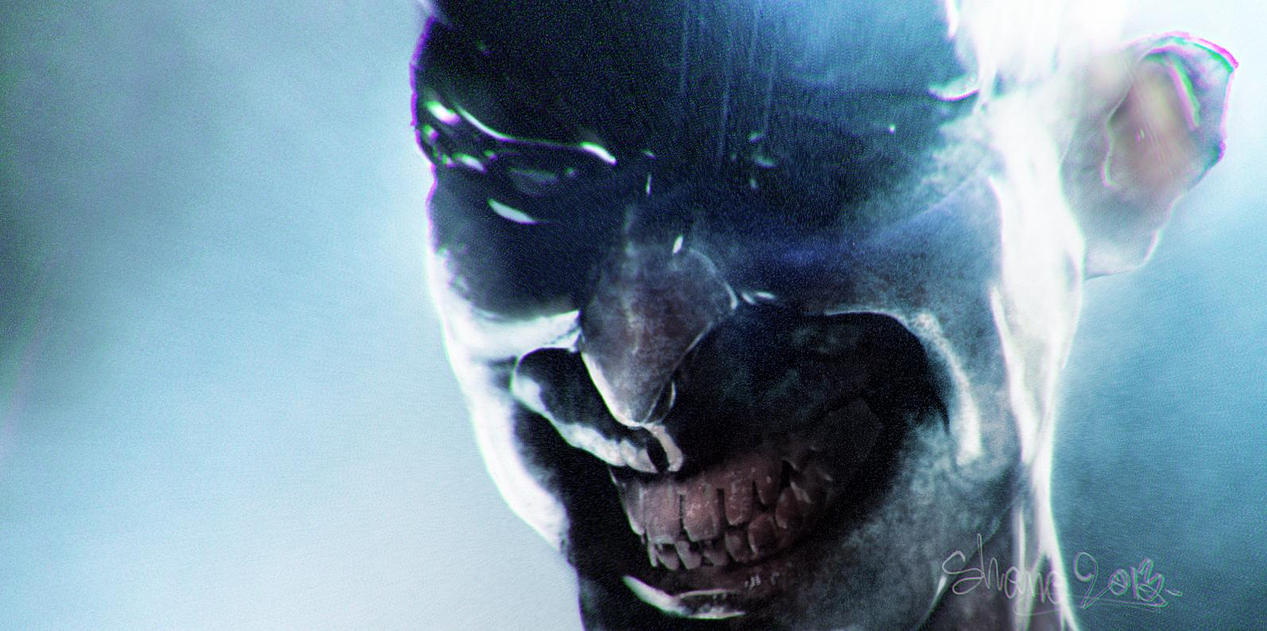
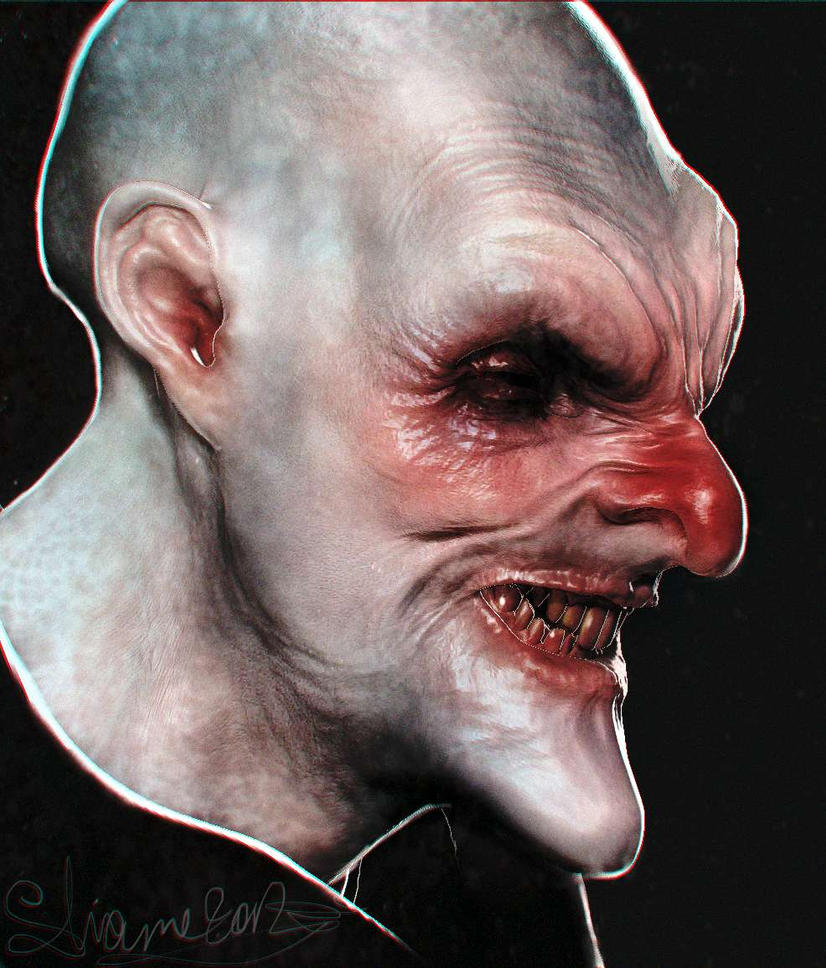
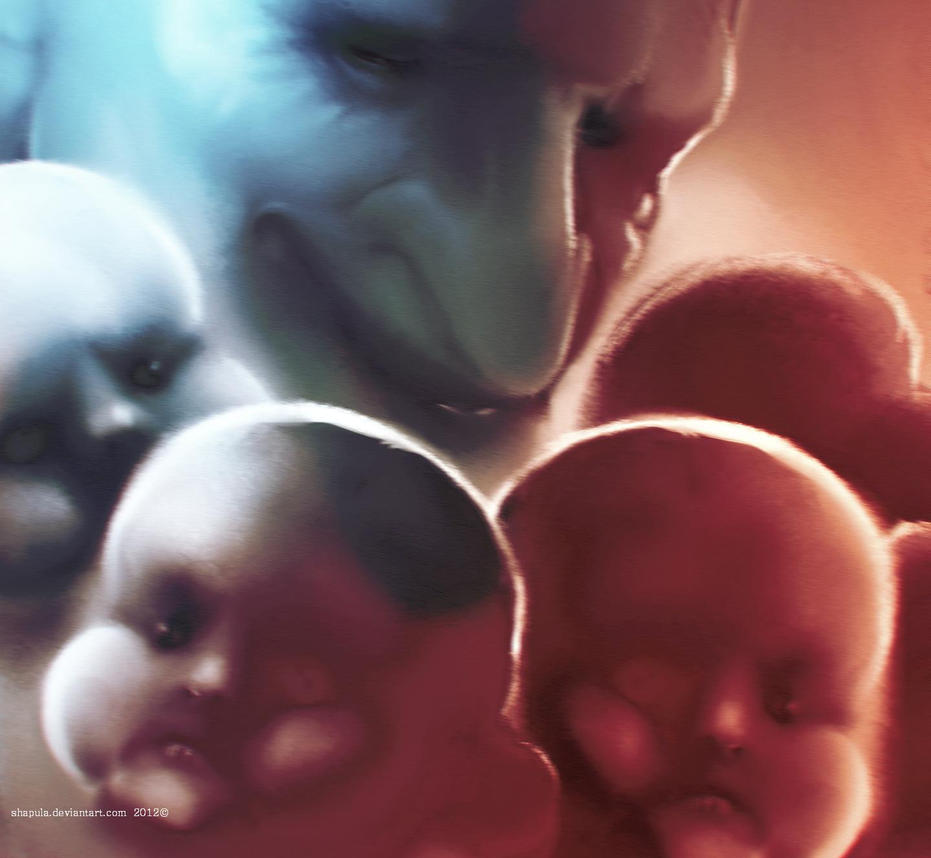
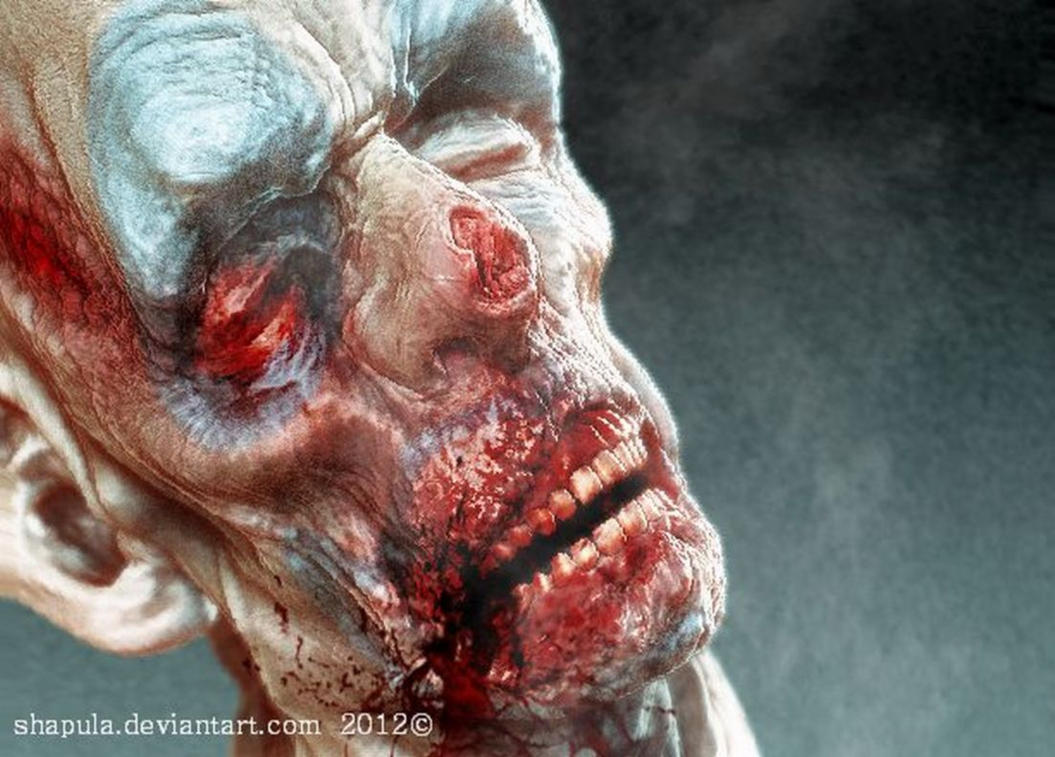
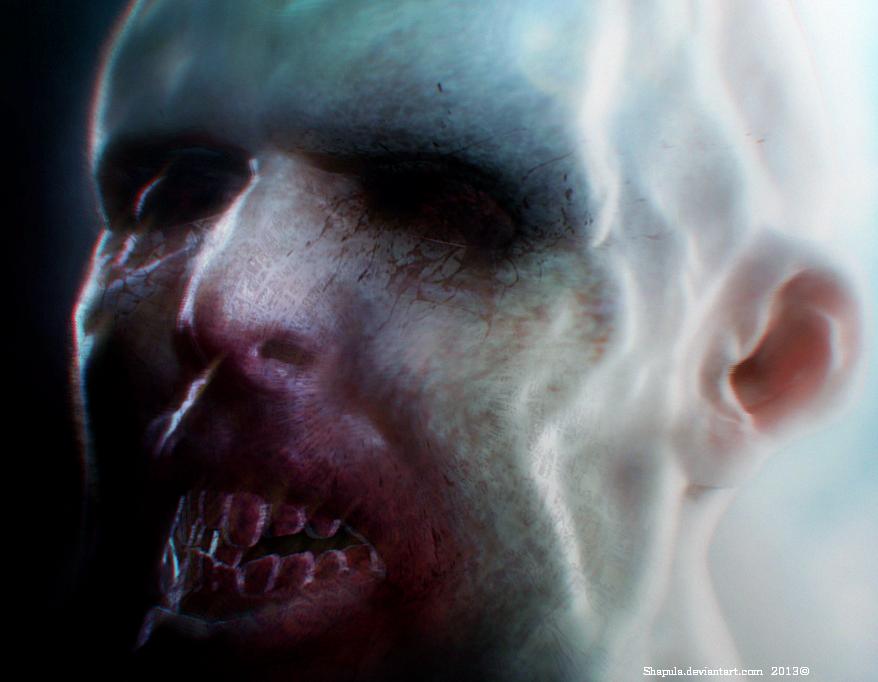
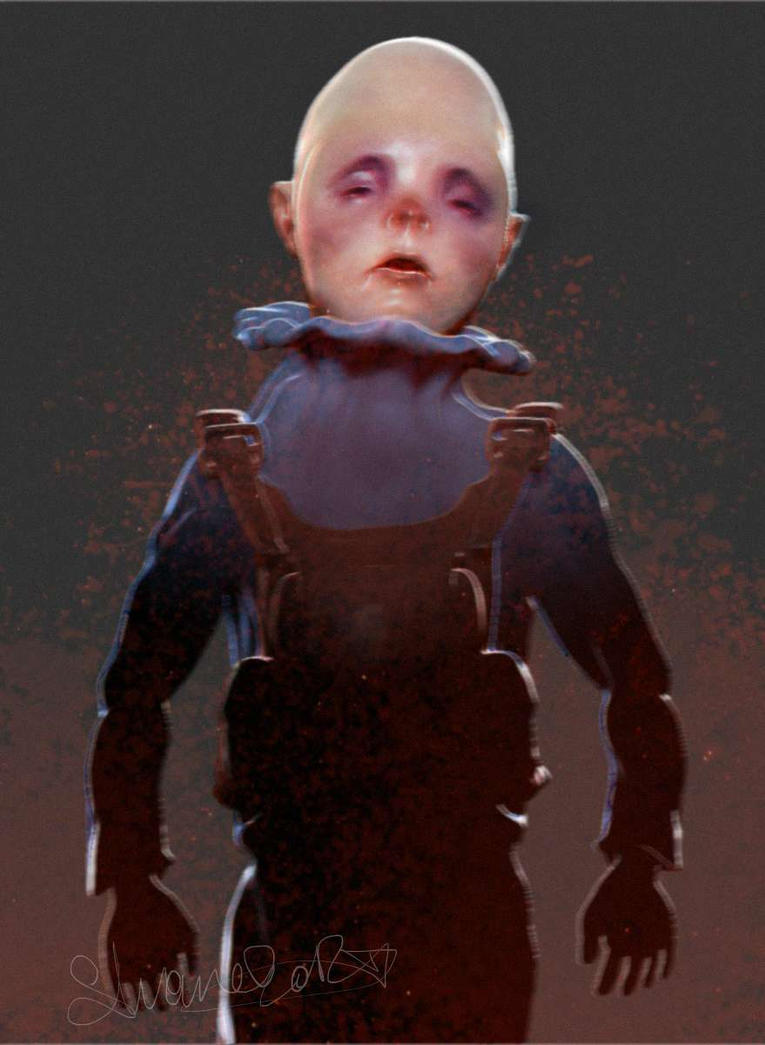
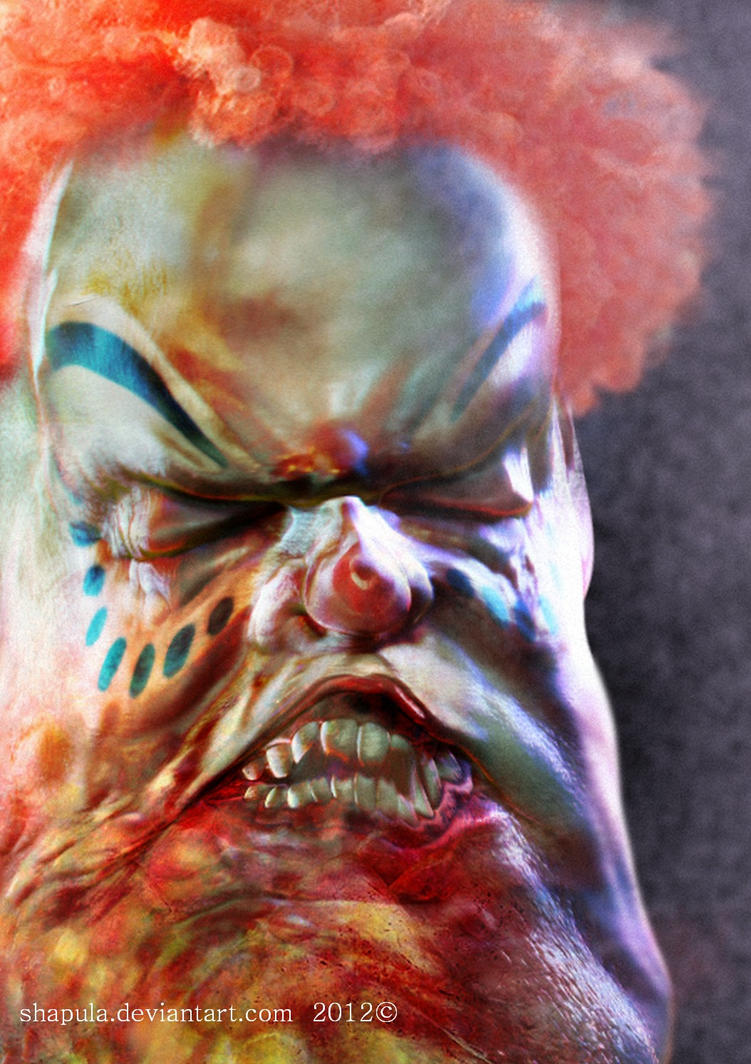
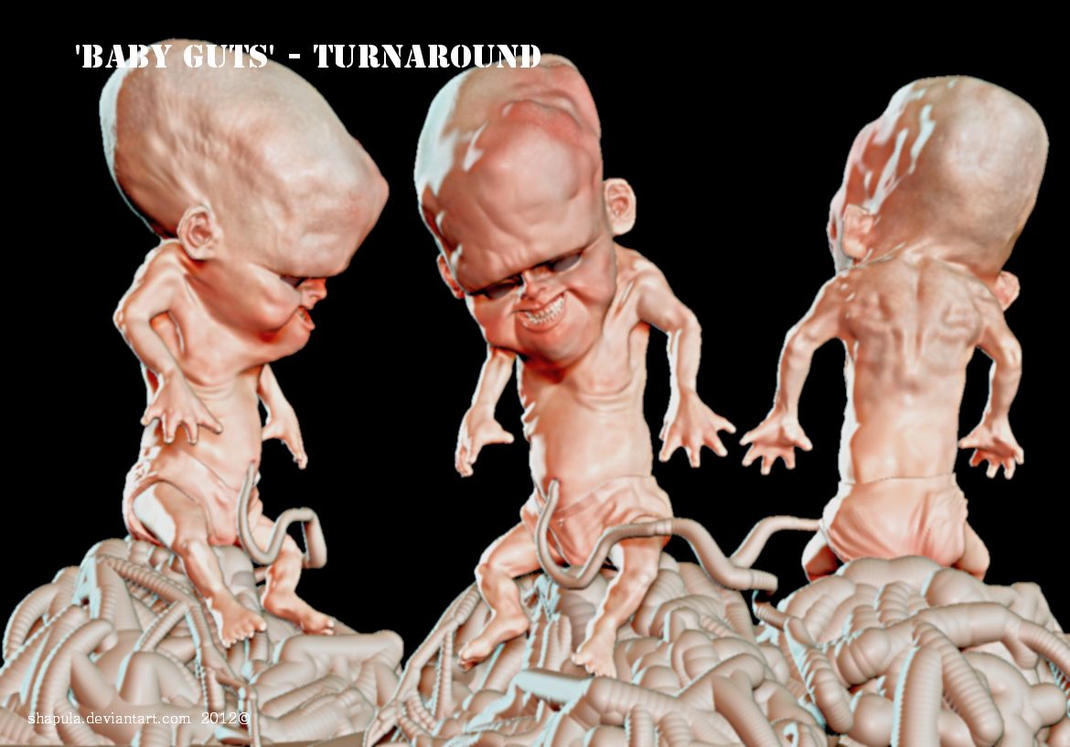
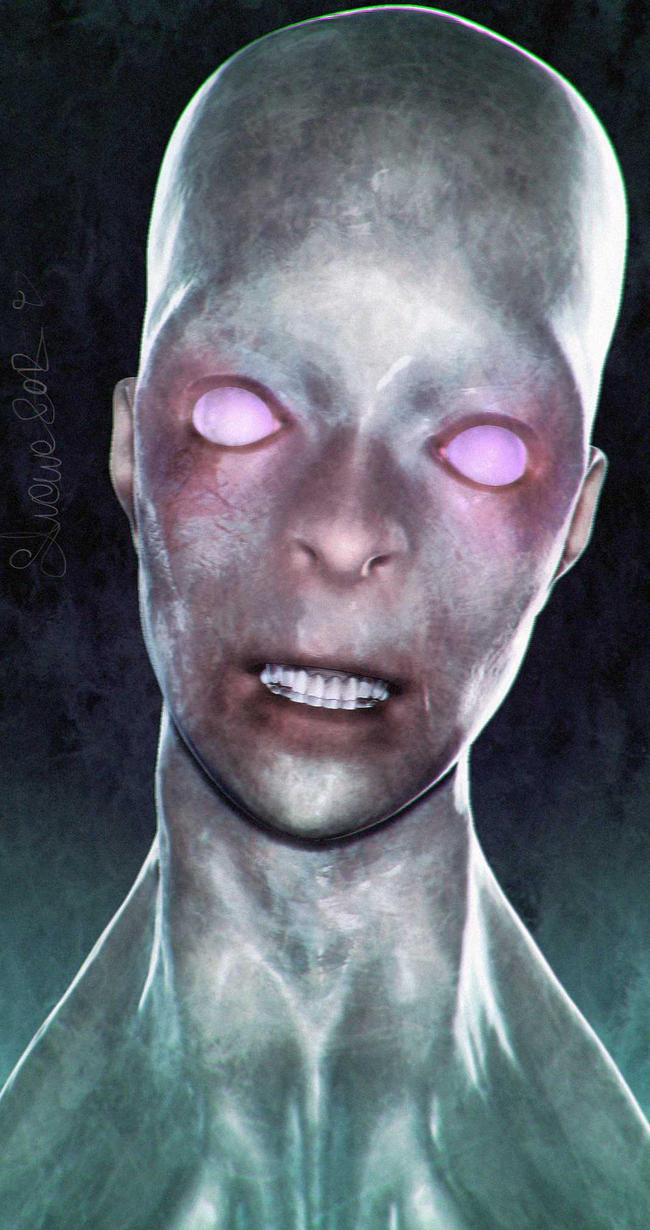
I've been busy elsewhere but I thought I'd pop back in to blogger-land and post a few of my pictures.


I'm  currently experimenting with several different styles and ways to incorporate my Zbrush stuff with inked sketches....with something horror-themed and very creepy in mind (hopefully!)

- Shane

(All images (c)copyright Shane Sheils)

Sunday, October 23, 2011

Creating the ‘Cinematic Look’ Process


Making something look cinematic requires more than simply shooting footage with a film camera, but it actually doesn’t require a huge amount of effort or money.

In fact, the cinematic look can be recreated relatively easily once you are aware of what something ‘cinematic’ actually is (See my previous posting “Inspirational Cinematic Photography” for more)!

The key elements to a ‘cinematic’ image are as follows:

  1. Shoot 24p using the 180° Shutter Rule
  2. Shot Framing
  3. Lighting
  4. Depth of Field
  5. Grading

Let’s look at each one a little closer.

1: Shoot 24p using 180° Shutter Rule: What the hell does this mean? Well, you should shoot at the speed that cinema films are shot at, which is 24 frames per second (actually 23.976 frames per second). ‘24p’ means 24 frames per second progressively. You should use this frame rate as opposed to ‘24i’, which means 24 frames per second interlaced. Interlacing means that the picture contains two fields, which doesn’t look nice and is synonymous with the ‘DV look’ (not nice). The simple point is that you should aim to shoot at 24p because that is what looks most cinematic.

The 180° Shutter rule is an even more complicated thing to explain and you can find lots useful resources on the web explaining it with diagrams and stuff. They describe how you should use a shutter speed of twice your frames per second.

For mere mortals like you and me (you are mortal, aren’t you?) this really means that when shooting footage at 24p you should set your shutter speed to 1/48 of a second – or as close as, which is normally 1/50 of a second on DSLR’s.

When shooting slow motion footage at 60 frames per second (FPS) on your DSLR you should use a shutter speed of 1/120th of a second.

If you have a camera that shoots at, say, 100 fps then you would shoot at 1/200th of a second. Just double your FPS speed to get your shutter speed.

So, shoot at 24fps and use a shutter speed of 1/48 of a second (or 1/50th is that is the closest setting you can get on your camera). It’s best to stick to this rule and not think too much about it. It works and that’s what matters.

2: Shot Framing: The single most important aspect of a cinematic image is how the shot is framed. If you want to make something that looks more like something you’d watch in a cinema you need to make sure that what appears in your frame doesn’t look like your granny’s holiday snaps from last year.

Try not to put your main point of interest in the centre of the frame. Use the rule of thirds and try to have your main point of interest located where any of the vertical and horizontal lines converge.

Only put your main point of interest dead centre by stylistic choice or for impact.

When composing your shot, make sure that the viewer’s eyes are not distracted by unimportant details. Aim for a clean frame where nothing gets in the way of the viewer understanding what’s going on in the shot, for instance if a background is too busy blur it out with a shallow depth of field (see ‘4: Depth of Field’ for more).

Vary your angles. Don’t shoot everything from the same viewpoint (unless this is a stylistic choice for impact). If you are filming a dog or a kid, get the camera down at their level. If you are filming a vast expanse of land, get the camera up high to get a vantage point.

(See my previous posting on “Where to Put the Camera” for a discussion on camera placement)

3: Lighting: A cinematic image looks lush and moody. To create this lush and moody look does not require a huge lighting set-up. Actually less is more. Filming a character lit by a single practical lamp while leaving the rest of the room in shadow instantly adds production value. Good lighting is less lighting. Shadows are your friends. Use lighting to direct attention to your main point of interest.

Use backlighting to create silhouettes.

Expose correctly. Leave some information in the shadows, avoid blown out highlights like the plague. And remember, the image you get in camera just needs to have an adequate range of exposure; you can do all sorts of tricks in grading to make your blacks really black or add tints and filters and make countless other adjustments.

4: Depth of Field: The depth of field defines the area of focus in your image. Being able to control what is or isn’t in focus has a huge impact on cinematic style and emotional connection to the subject matter/character.

A wide depth of field means that the vast majority of your image will be in focus. This is useful when trying to show a wide vista (a landscape or cityscape, for example) where you need to ensure that everything is in focus. F-stops of f.8 or more makes the camera lens’ iris smaller and ensures more of the image is in focus.

A shallow depth of field means that only a very selective area will be in focus while the rest of the image will be blurry. This is used to separate the foreground from the background for instance and is an essential tool when filming people during dialogue sequences so as to make sure that the viewer is focused on the actors and not distracted by something in the background. An F-stop of 5.6 or less allows this look.

The background takes on a blurry pattern that is called ‘Bokeh’. Different lens produce different types of Bokeh effects; some create more circular blobby patterns of light, while other’s make more hexagonal-style blobs.

Using a shallow depth of field is something craved for by independent low budget filmmakers for years in order to simulate the ‘cinematic look’. Before affordable digital SLR camera’s the shallow depth of field look was out of reach unless you were willing to splash out on a much more expensive camera.

But even if you only have access to a regular video camera you can still ‘cheat’ this shallow depth of field (or ‘blurry background’) look by zooming in as much as possible while positioning your camera further away from your subject. This makes the background more soft and is a way to get a less impressive, but still effective, shallow look.

5: Grading: No matter how well you light and expose your footage in production, when it comes time to assemble it all in the edit you will notice that, colour-wise, it wont look very impressive.

But don’t fret: this is where grading your images comes along to make everything look just like you imagined it should! Grading is basically adjusting the hue, saturation and contrast of your footage so that first it matches and then secondly it allows you to create a ‘look’ that defines your cinematic style.

A great way to practice grading is by opening a still picture in any basic image editor (IrfanView, for instance) and going to the menus and selecting ‘Image’, then scrolling down to ‘Enhance Colors’. This will give you options for adjusting brightness; the colour balance of the Red, Green and Blue channels separately; Contrast, Gamma Correction; and Saturation. A few subtle tweaks of the RGB values and the Contrast will have a massive impact on your image.

Increasing contrast, then increasing the Red and reducing the Blue values makes the image appear ‘warmer’.

Increasing the contrast, then reducing the Red value and increasing the Blue makes it ‘cooler.

Try it!

This is basically what you’d be doing in After Effects (or whatever editing/colour correction software you are using) in order to make your images come alive.

Stu Maschwitz’s book The DV Rebel’s Guide has a step-by-step process guide to colour correction that lays out in simple English how to go about turning an average looking shot into something truly cinematic.

Basically you need to firstly ensure that all your clips match. This means giving a general colour correction to your footage so that all the shots seem to be part of the same whole – and this is why it’s important to ensure when you are shooting footage that you get a good, clean exposure and not set out to complete a look in camera. The computer is where you should be fiddling with the look.

After making sure that all your clips match up well, you then move on to the creative stage: giving the footage ‘the look’. When you think of a Tony Scott movie you immediately think of over saturation and high contrast – this is his ‘look’. That’s just one example, go find yours.

When all these five elements are put together you are well on the way to getting the true cinematic look.

Of course none of this matters a bit if you have a crap script, awful sound and poor acting, but people judge things on first glance visually and ensuring that your film can compete in cinematic quality terms with the other films out there will prevent it looking amateurish and cheap.

These five points will instantly add production value to your work and without a huge deal of effort or stress. Ignoring them would be a futile waste considering how they require relatively little effort.


- Shane


(Images taken from Google.com/images. All images copyright of respective owners)

Thursday, October 13, 2011

Writing Films - How Descriptive should a Movie Script be?


Just how descriptive should a script be?


Well, it all depends on whether you are writing a script that you intend to make yourself or whether it is going to be made by somebody else.

I'm going to focus on talking about writing a script that you are making yourself.
I should warn you that this is another one of my long postings ;)


Ok. First things first: you should write in your own voice and manner. Don't go all flowery with the language just for the sake of it. If you are a straight-talking type person you should write in that way.

Remember, you are not writing a novel, you are simply trying to lay out the blueprint/set the tone for a movie.
You need to get the feeling of the story across and include references to any characters, locations, props you need...but no more.

The script is the blueprint.
It is not the be all and end all. It is an in-between stage to get your ideas from inside your head and present them in a clear and concise manner.

Let's take an example.
Say you have thought up a scene where a man walks into a bar and sits at a table.
It is a basic scene, but can be staged in countless ways.

You need to ask yourself the following questions:
- What is the purpose of the scene? How does it further the story?
- What is the character's motivation? Why is he here?
- Where are we? What does the location look like? What time of day does it take place?
- How can I get across the mood/feeling in a way that reflects the idea's in my head?
- How can I communicate this idea in a way that makes sense to the viewer?

The last point is the most important: the need to respect the audience and ensure that your idea's are conveyed in a way that they will accept and enjoy.

Let's move on to the process of getting it all down on paper.

One writer may keep it extremely basic and write:
1: "The man enters the bar. He walks across the floor and takes a seat at the far end. He orders a drink from the barmaid."

Another may write:
2: "It's late in the night, near closing time. A man in a tattered shirt and baseball cap pushes through the door, pausing briefly as a neon Budweiser sign hums and flickers behind him. He moves forward, head held low, through the almost empty place. Reaching the far end of the bar he draws back a wooden stool and sits down awkwardly. Raising a finger he orders a beer from a barmaid wiping down the counter top".

A third writer may put it like this:
3: "A wide interior establishing shot of a bar at night. Cut to a mid shot of man in cap pushing through the door. Pull-in as he pauses briefly in the doorway. We pull-in real tight for an extreme close up, revealing just his eyes and an out of focus Budweiser sign behind him. We cut to an overhead wide shot as he moves forward, head held low, through the almost empty place. Cut to a low-angle shot as the camera dollies behind him as he reaches the far end of the bar. Cut to a medium close up behind the bar as he draws back a wooden stool and sits down. Raising a finger he orders a beer. Cut to an over the shoulder shot of the man (with him filling most of the frame) as we see a barmaid wiping down the counter top".


Which one to use?
- The first one gets across the general idea but it lacks any emotion. It is flat. Boring. Dull.
- The second is descriptive and creates a mood that the first lacks.
- The third is descriptive and features camera placement ideas.


Despite number 3 having the inclusion of descriptions of camera moves and set-ups, I still believe number 2 is the best overall.


Having lots of intricate camera moves worked out in advance is fine when you know exactly the location you are going to be shooting in like the back of your hand. But you can get easily bogged down in simply recreating shots based on a plan rather than using your intuition and gut feeling which often leads to far superior outcomes.

I used to always over-write my scripts; every single camera movement described in precise detail.

But do you know what? It took the fun out of actually shooting stuff!

As far as I was concerned, the film was virtually already made on the page and the act of actually filming it was a tedious chore.

A script needs to include enough information to get across the feelings required yet still leave wiggle room when shooting.

You should be inspired by the script to go out and shoot.

Including certain essential camera moves/placements in ok, but you shouldn’t kill the story flow by breaking it up all the time with technical jargon that doesn’t enhance the story-telling.

Besides, you can use storyboards for this purpose if needed. And it’s far easier to have a quick glance at a picture than it is to make sense of a bunch of words trying to describe the angle and height of the placement of a camera!

A much more important element to include in a script is sound.

I’ve written before on the blog about the importance of sound in film, and it’s something that should be thought about at the script writing stage.

“An icy wind whistles through the alleyway, scattering a clanking tin can along the street” and “a throbbing beat resounds in Dave’s head, lub-dub-lub-dub, before he collapses to the ground with a mighty oomph” are just a couple of examples of how sounds play a vital role in bringing a script to life.

The name of a song/band/act a character is listening to in your story should be included instead of simply typing “John listened to a song”.

That tells us nothing! The line “John listened to Beethoven/Metallica/Tellytubbies” gives us an insight into the fascinating character of ‘John’!

Even if you don’t have the rights to use a particular song/artist you should still include it in the script. Who knows, you might get lucky and get permission to use that Beatles song you really wanted (Paul McCartney could be in a good mood that day). But even if you don’t, you can always use piece of royalty-free music that has a similar sound and will work just as well, if not better. Plus, because film is an audio/visual medium it should be planned to make use of the effectiveness of sound during the pre-production phase and not just concentrate on pictures.

An editor will always use a temporary soundtrack when piecing together a movie so as to find the correct rhythm of cuts; a scriptwriter should never ignore the power of music and sound either.

Including music references throughout your script will immediately add more life and character to your story.

This includes the use of sound effects where needed.

Let’s say your lead character is firing a gun during a getaway sequence: writing “John fired the handgun” is boring. But “John fired the handgun. Krackkkk!” lets the audience better visualise the feel of the weapon’s power.

Now lets get to wordiness. (yes I know I am one to talk!)

The average script breaks down as one page = one minute of screen time.

So a 90-minute movie would be roughly 90 pages long (when written in the standard Hollywood format).

You’re probably thinking that if you start adding all these descriptions of sounds and stuff like that you’ll end up with an un-doable 1000-page script!

This is where script editing comes into play.

Be selective in the amount of words you need to get your story across (says the man who has been busily typing all this!). You don’t need to describe every single detail of the rivets in the side of the ship in your Titanic-themed story. But if your story is about how some badly inserted rivets contributed to the sinking of the ship then you should be all means go all out and describe them in detail.

The whole thing is dependent on context: what you write is significant insofar as it moves the story forward and contributes to the tale.

A good script is like one of those little model buildings that architects have made-up when showing off a new development. It should be well made so as to convince viewers of the viability of a project and show a proposed depiction of what the finished job might look like. But it is an intermediary, a simulation of what the finished project might be like. It is not the finished goods - just like a script’s job is to be the solid foundation of a movie, something to inspire filmmakers on their journey to produce their best work.

Happy writing!


(all images from google images. Copyright of their respective owners)

Thursday, August 18, 2011

Dwarfed Films NEW ESSENTIAL FREE SOFTWARE LIST

A few years ago I compiled what I believe were the best free software tools for movie-making in list formate (DWARFED FILMS ESSENTIAL FREEWARE 2007).

Well I think it's about time I updated the list for 2011, taking into account any newer programs that have popped up during this time and removing programs taht are obsolete or which I personally are old hat.

So here goes:

DWARFED FILMS NEW ESSENTIAL FREEWARE LIST 2011

Essential Freeware or Open Source Software:
Note: items frequently used by Dwarfed Films.

Animation/Modelling Tools
(Alternatives to Maya/XSI/Lightwave 3D/Cinema 4D/3DS Max/Poser)

Blender 3D: Open source (freeware) 3D modelling, animation, sequencer for windows/mac/linux/etc
Still, in my humble opinion, one of the best graphical software programs out there. There has been a massive redesign of the user interface with versions 2.5+.

The only issue I have with the new versions is the problems it has displaying images in the sequencer; to make your images display in the display window while editing you need to set the output formate to 512X512 pixels (also works 1024X1024, etc). Maybe this has been corrected in the updates but I haven't checked.
Anyway, you can always use an earlier version (Blender 2.49 for instance) for sequence editing.
Visit www.BLENDER.org to download Blender (you can visit the archives and get earlier versions also)

Makehuman: Open source software for creation of hyper-realistic human characters with no need for any modelling experience - just toggle some parameters and you can tweak every anatomical part of the base character to create any male/female character of your choice. Exports to OBJ format.
www.makehuman.org/


Image Editor Tools
(Alternative's to Photoshop/Painter/MS Paint)

The Gimp: Open Source image editor that is just like photoshop www.gimp.org.
I've used The Gimp for years and prefer it to Photoshop and Painter. Some people find it fiddly, but I love it and think it is reliable and allows me to do whatever I need to get done.
The very best graphical software program - and its free.

Irfan View: Freeware image viewer supporting practically every format from .png to .mov.
Mainly use it for converting images to different formates and viewing stuff. Fast, reliable.
Find it at www.irfanview.com/

Paint.Net: Similar to The Gimp but easier interface and it also loads much quicker. Supports layers and a whole range of effects.
Haven't used in a long time, but if you like nice interfaces and want something like Painter - but Free! -then this is for you.
www.getpaint.net/index2.html


Visual FX Tools
(Alternative's to Adobe After Effects/Nuke/Mocha)

Terregen: Freeware landscape creator for making stunningly realistic landscapes.
Haven;t used in a while but this program can really give you options if you really need a cool helicopter-flying-over-mountains type sequence.
Terragen 2 was released which offers import of 3D objects and creation of fully 3-dimensional worlds.
www.planetside.co.uk/terragen/

Terranim: Freeware plugin for terregen that makes animations of created landscapes.
Without this you only get static images from Terragen. With it you get unlimited camera moves and image morphing (to simulate a flat plan 'growing' into a mountain, for example).
Do a Google search to find "Terranim plugin for Terragen".

Landformer: Freeware landscape map generator for use in Terregen.
Do a Google search for "Landformer for Terragen".

Voodoo Camera Tracker: Freeware camera tracking software.
Raely use as I have After Effects and don't really ever need 3D motion tracking, but this could od the trick for you. And its free. Downsides are the import formates accepted: TGA.
www.digilab.uni-hannover.de/download.html

Apophysis: Fractal-based image creation. This can produce incredible imagery (see our short film "BIRTH" for Apophysis designed animation).
Not sure if the basic download package includes an animation output, so do a search for "apophysis animation plug-in" on Google if it doesn't.
www.apophysis.org


Video Editors

(Alternative's to Sony Vegas Pro/Adobe Premiere Pro/Avid/Final Cut Pro)

Lightworks Beta: the legendary Lightworks video editor is now available for free!
Enjoy the weird editing process and famous Shark delete button in the safety of your own home!
I remember learning to edit using this thing when I was in college. It was very intuitive once you got the hang of it (is that an oxymoron?). It has auto save...which is handy becasue the program has an annoying habit of randomly crashing. I find it a bit finicky nowadays when compared to other video editors such as Sony Vegas and others. But it's a small download (approx 40MB) and it can't hurt to try it.
http://www.lightworksbeta.com/

Blender: Didn't I already mention this? Who cares! Not only is it a great animation/modelling program, but the Blender sequencer is one of the best video editing applications you will find: fast and free.
www.blender.org


Image Players/Editors
(Alternative's to Windows Media Player)


Handbrake: Open Source media converter. Highly regarded.
http://handbrake.fr/

Super: Freeware video converter for conversion to avi/mpeg/wav/mp3/swf/ogg/mobile phone/etc and vice versa.
www.erightsoft.com/SUPER.html

VLC Media Player: Multi formate media player.
http://www.videolan.org/vlc/

MPEG Steamclip: Plays and converts multiple file formats.
http://www.squared5.com/

VirtuaDub: Still good after all these years. Great for quickly converting video footage to image sequences (although I personally use Blnder to do this as I find it faster). http://www.virtualdub.org/


Audio Editor/Sequencer Tools
(Alternative's to Pro Tools/Adobe Audition/Sound Forge)


Audacity: Open Source audio editor and recording audacity.sourceforge.net/

Reaper: The best audio composer/editor. It's not free technically, but you can download it and use the full version indefinitely if you don't use it for 'commercial purposes'.
Excellent program.
www.reaper.fm/

Acid Xpress: It's free and it's Sony. Sony make good products generally, so put two and two together and see what you come up with.
www.acidplanet.com/downloads/

Shittalker: Basic text to speech program. Not sure how much use you would get out of this but it will make you laugh, and that's gotta be a good thing. www.unaesthetic.net


DVD Tools

EXPRESS BURN: Excellent, Freeware DVD/CD/BlueRay/HD DVD burn sotware that is 100% compatible with Windows Vista. Nice clean design and the best DVD burning program we've yet seen. Choose this instead of Final Burner! Download it here http://www.nch.com.au/burn

DVD Shrink:Excellent and versatile Freeware tool for copying DVD's and compressing them so that they can fit on a standard DVD-/+ disc. (NOTE: Copying a commercial copyright-protected DVD may be done for personal use only). www.dvdshrink.org/

Final Burner: A great Freeware CD/DVD burning program like Nero (the program - not the Roman emperor). Small download size (about 2mb) and with a user friendly interface. Recommended (Note for personal use only). http://www.protectedsoft.com/


Presentation Tools
(Alternative's to Microsoft Word/Excel)

*Open Office: Open Source equivalent to MS Office, but far superior. Can write direct to .pdf format. www.openoffice.org

*Wink: Freeware tool to create presentations in .swf (shockwave flash) or .exe (executable file) format. Records mouse movements and allows you to edit this into a tutorial demo. www.debugmode.com/wink/

*Cam Studio: Open Source screen-grab utility that records video/audio to .avi or.swf format. Pretty much similar to Wink except for the .avi capabilities. Very useful.
www.camstudio.org/

*Foxit PDF Reader: Freeware PDF reader and editor. Better that Adobe Reader. www.foxitsoftware.com

*PDF Xchange Viewer: Freeware PDF reader and editor. Again better than Adobe Reader. www.docu-track.com

Compression Tools
(Alternative's to WinZip/WinRar)

*7Zip: Open source compression software. Much better compression than winzip/win rar etc. Supports all compression formats. www.7-zip.org/

Web Browser Tools
(Alternative's to Internet Explorer)

*Mozilla Firefox: Open Source web browser. Far more secure and user friendly than Internet Explorer. www.mozilla.com/

Operating Systems
(Alternative's to Windows/Mac)

Linux Ubuntu: Open Source (ie: FREE) operating system that is updated every 6 months. Has received a lot of very good feedback and reviews and is considered to be more secure that Windows. Comes with software such as Open Office, etc. Can be downloaded from the site or you can apply to receive a copy by post for free! www.ubuntu.com/


Freeware Websites

Major Geeks: Safe and secure freeware software arranged into various categories. Click here to visit site

Sourceforge: Directory of open Source projects with downloads. Not the best laid out site in the world but you can find programs of all types for all formats. Click here to visit the site

VST4FREE: Site offering free VST plugins for creating and editing music. Use the plugins alongside other free audio creation software such as Psycle or Reaper. Click here to visit the site

PC-Utilities: Website of the PC-Utilities magazine. You can directly download software in various categories. Click here to visit the site

Wikipedia: The Wiki list of Free/Open Source software. Click here to vist the site

FSF/UNESCO Free List: A list of freeware compiled by the UN. Click here to visit the site

Light Links: This is a bit strange but it's religious site offering freeware! You can ignore the christian preachy stuff and check out the free software links on the left hand side of the main page. Click here to visit the site


As always you can contact us here
Or you can leave a comment or any other links to free software that you think others might find useful.