Search This Blog

Showing posts with label 3D model. Show all posts

Friday, February 01, 2013

A few images.....

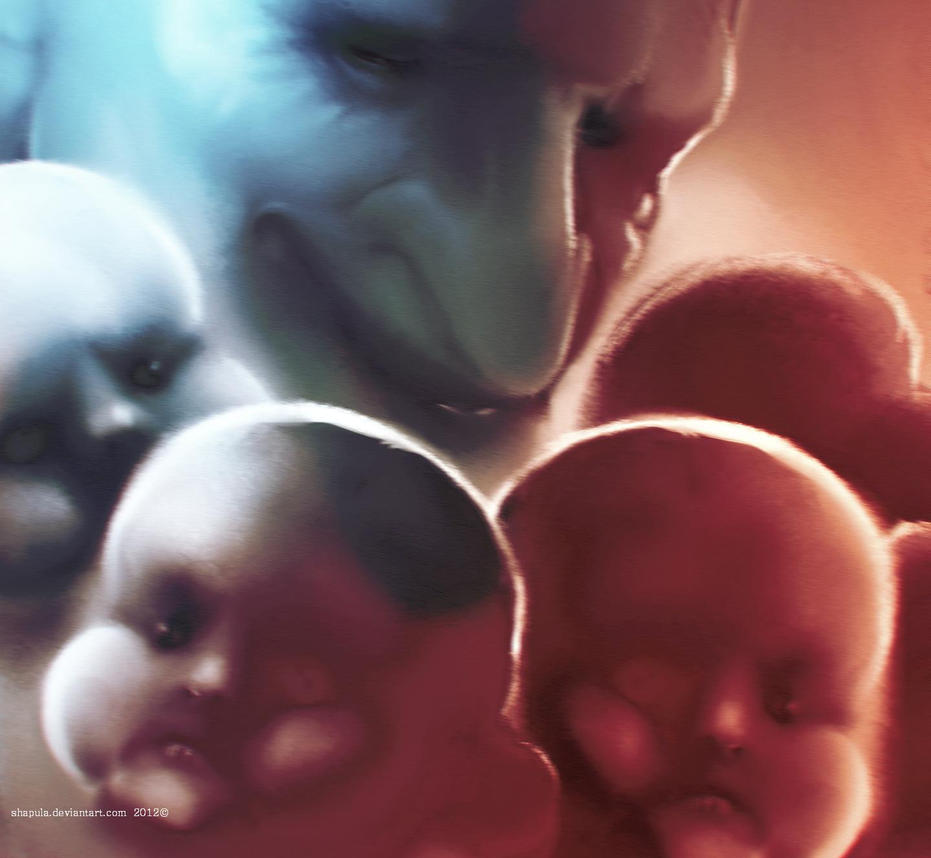
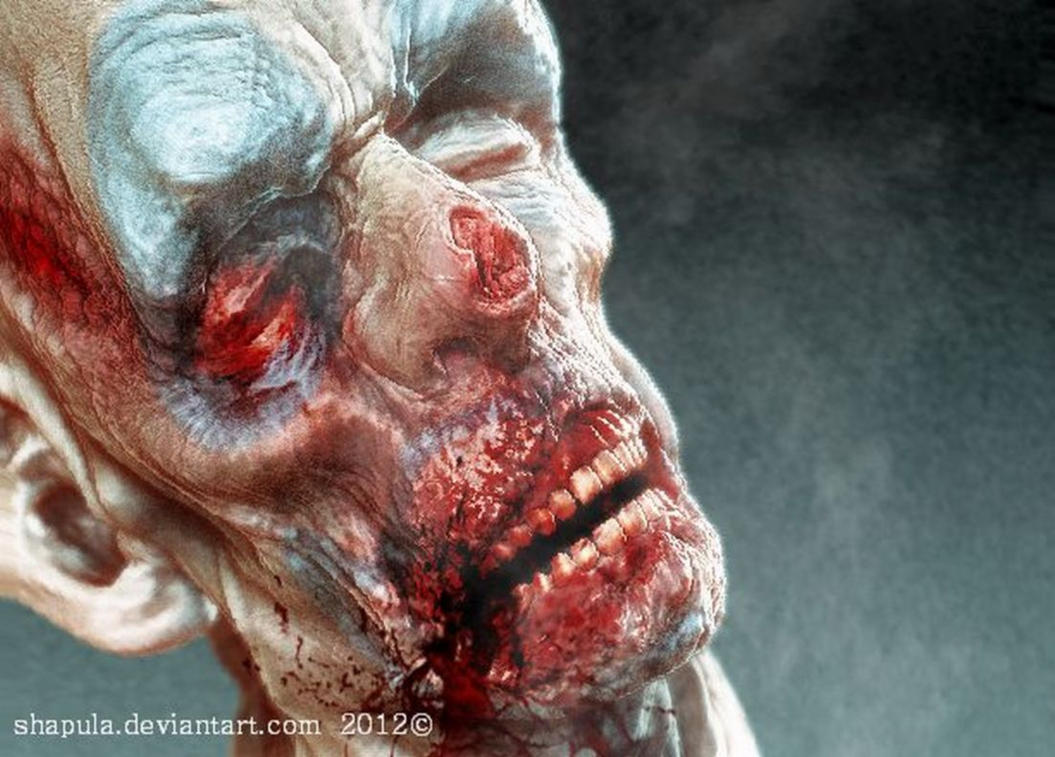
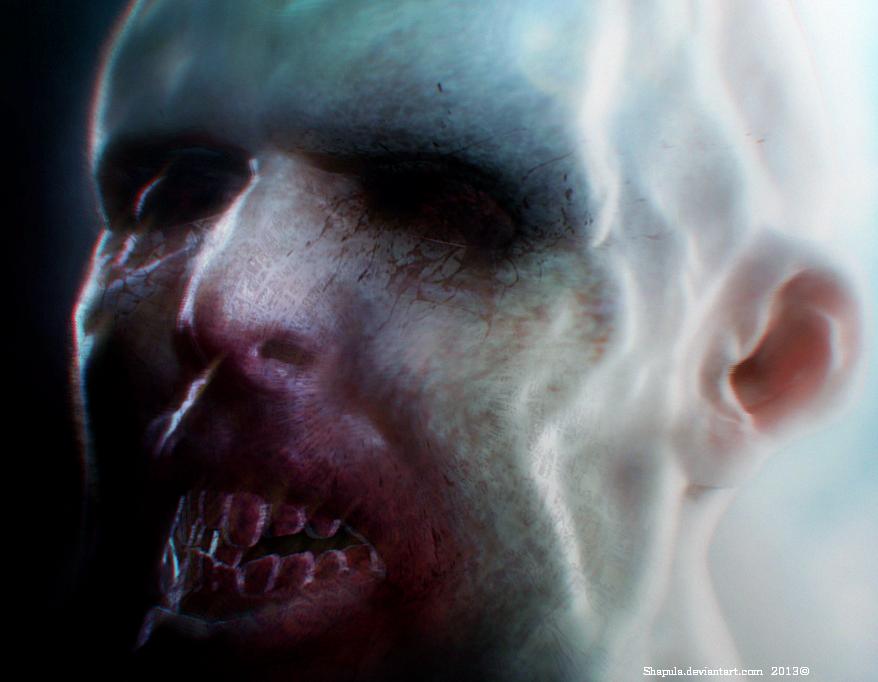
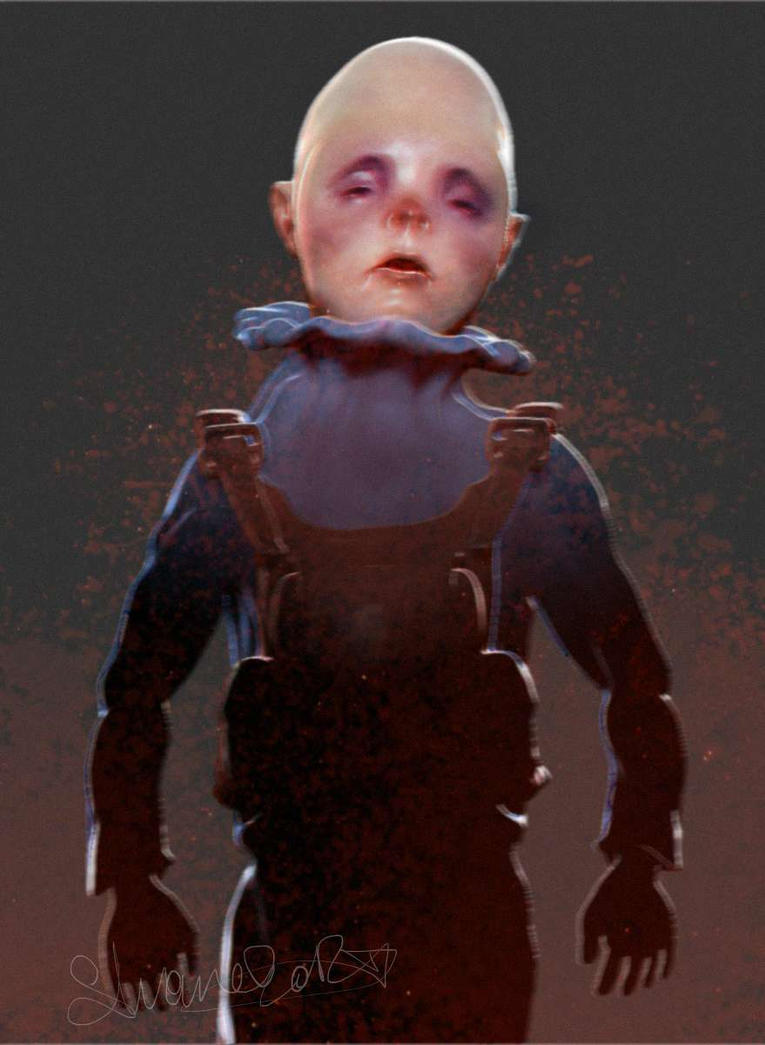
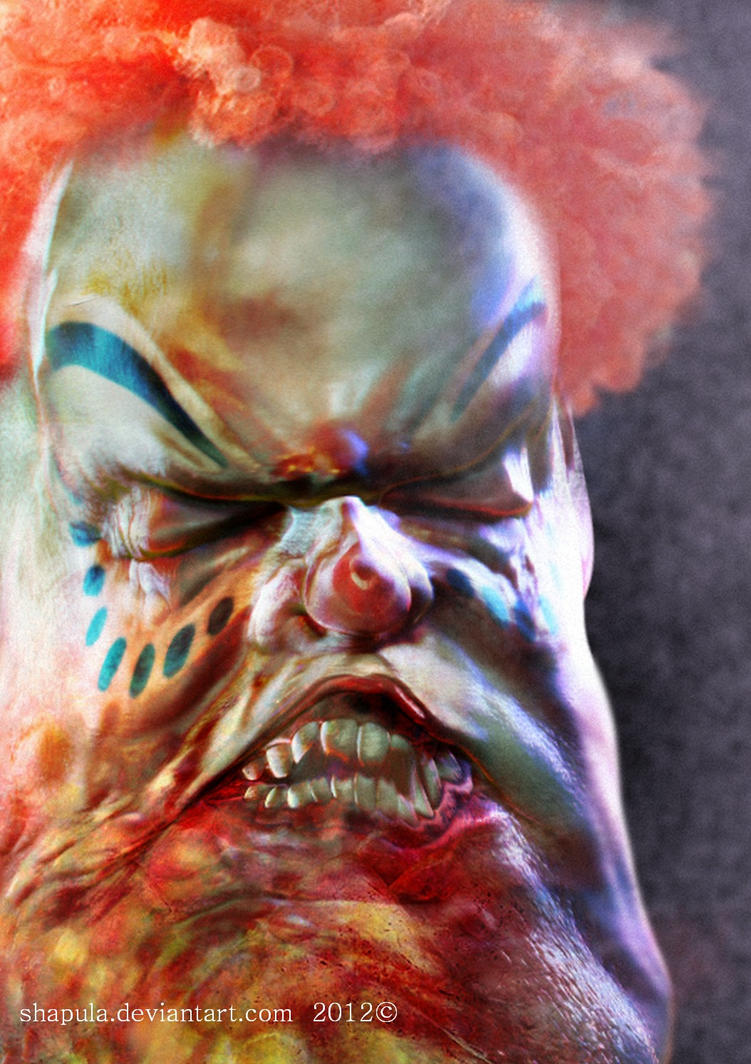
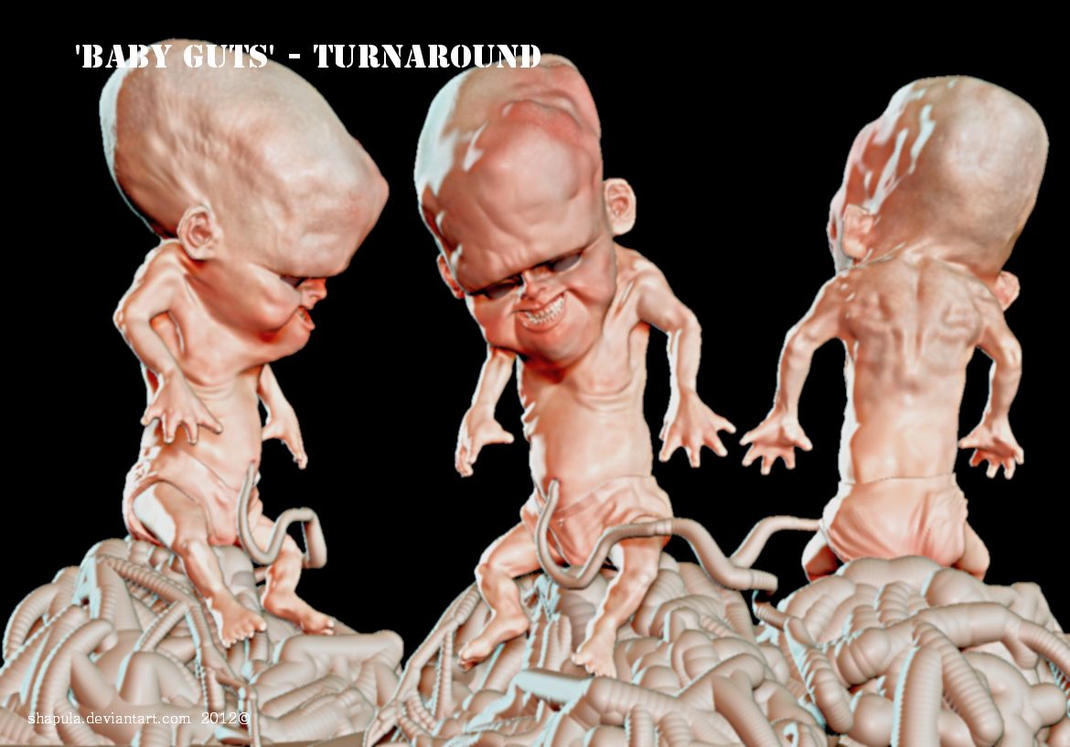
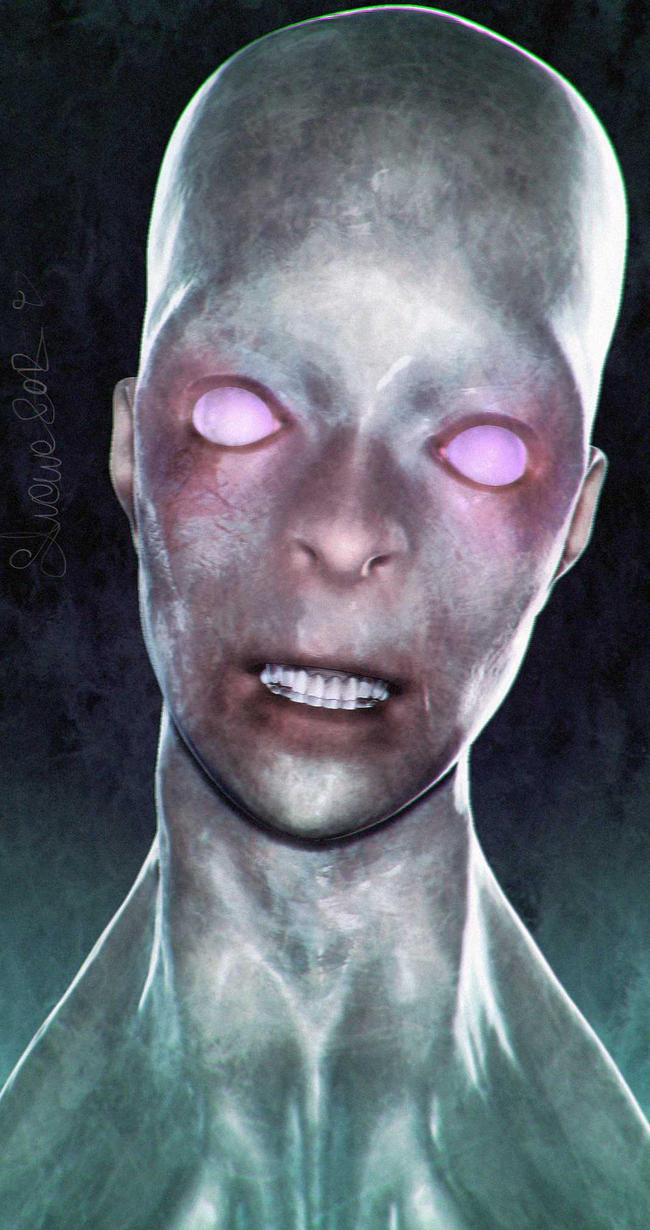
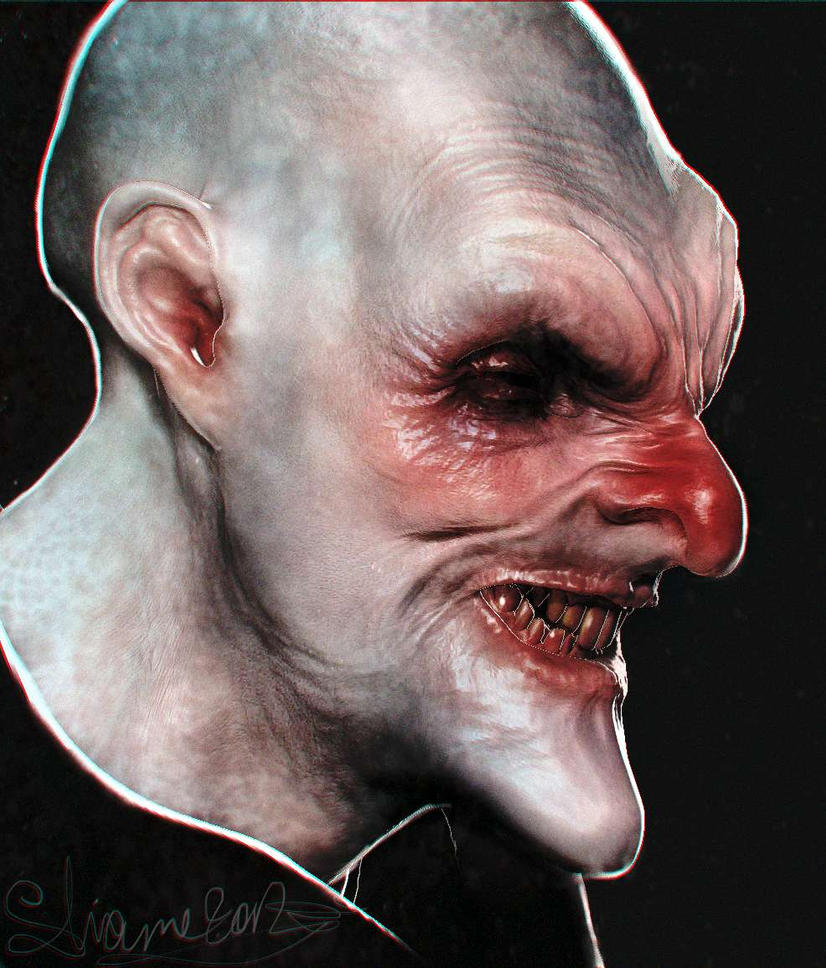
I've been busy elsewhere but I thought I'd pop back in to blogger-land and post a few of my pictures.


I'm  currently experimenting with several different styles and ways to incorporate my Zbrush stuff with inked sketches....with something horror-themed and very creepy in mind (hopefully!)

- Shane

(All images (c)copyright Shane Sheils)

Thursday, June 25, 2009

Sci-Fi Short - Location Design images


Here are some images of the location that the Sci-Fi 3D animated short is set in.

You can see that it's a grimy, dark spaceport room with a bizarre television set as the focal point!

All models were created using Blender 3D and all textures were made using The Gimp.

Click on the images to view full-sized.

More images to follow soon....

Thursday, May 21, 2009

Blender Sci-Fi Short - Vicious Bug Character


Here is the re-designed bug character from our latest short 3D animated film.

Click on the image to view larger.

The previous model I created for the film just didn't feel right so I did a complete overhaul and redesigned this one yesterday then completed the texturing and rigging late last night.

It's a nasty-looking winged bug that I feel fits perfectly with the style of the film much more than what we originally had.

The lead character - which you can see in a previous post - is a slob-like, chain smoking, fat, lazy, bum!
The razor-fanged leech-shaped fly fits the whole stylistic design we want the film to have.


I mentioned in an earlier post about the lighting and how important it is to the look and feel of this short.
The atmosphere really depends on having the correct lighting setups for the particular scene tone.
Get it wrong and you run the risk of messing up movie, so I'm spending a lot of time working out the correct lighting setups and how they will work with shot angles and how they basically make the character models look.
Bad lighting can destroy a good model!

Keep tuned for more updates on this film which is being made using Blender 3D and other open source/freeware software.
Sunday, May 17, 2009

New Sci-Fi Short Being Made with Blender 3D -UPDATE


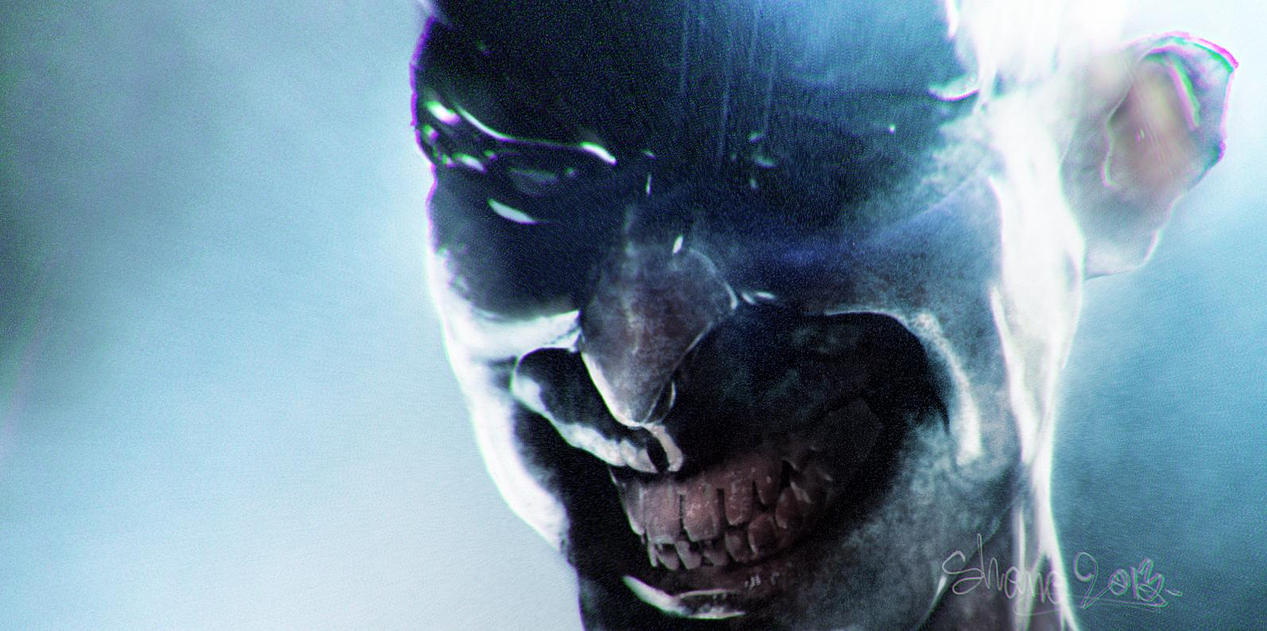
Well, here's a cropped test image from some of the experiments being tested out during the making of out as yet unnamed Sci-Fi 3D animated short film.


We are very pleased with the script and the production is moving along nicely.
Certain elements such as atmospheric effects and lighting and texturing are what are taking up most of our time working through.

We are using 3K textures for the characters that have been exported from UV maps in Blender to The Gimp where they have been meticulously altered and improved, then re-imported back into Blender and altered some more!
Then the process begins again until we get the look we're after.

The room in which the story takes place is not yet finalized and a few other elements in terms of 3D design.
The lead characters were designed and rigged pretty easily -it's the texturing and lighting part that requires lots of focus and attention.

So far we're not going to divulge any plot details apart from saying that the film is certainly gonna be one of the strangest and most bonkers things we've ever made!


Keep watching for more updates and making of details.

Tuesday, November 04, 2008

New images from new movie


Here's a 3D model of a cattle train car from our latest short film which is in the pre-production stage at the moment.

More details about the movie will be revealed over the coming weeks.

Monday, July 07, 2008

Mr. Humpfninkel - Old Folks Home model Location


The Old Folks Home location from the Mr. Humpfninkel short film.
Creepy looking, aint it?!

Rendering out composited frames for the film takes time and isn't helped by the fact that each shot has to be checked a number of times for colour correction on different monitors to ensure everything looks exactly as it should.
You can't trust computer monitors - especially laptop screens. The colour difference can vary greatly from massively oversaturated to dull and lifeless!


More images to follow.

We've also been very busy composing and recording the soundtrack for the film. Mr. Humpfninkel's Sales Technique is gonna have an orchestral score as opposed to the dark and eerie music in To Shoot A Rurf.

By the Way, you cancathc To SHoot A Rurf at the Animation Bloc Party in New Tork this month (July). Visit Animation Bloc Party's website for more details.

Shane

Wednesday, April 16, 2008

Mr. Humpfninkel: New Bus Model


Here are some images from Mr. Humpfninkel's Sales Technique of the bus model.
The previous bus model I created was crap, to be honest!
This one is much better.
Modelled in Blender 3d.
The lighting in these mages is a bit rubbish and you can see the crappy approximate ambient occlusion artifacts. But these are just quick renders to check how the model was shaping up.

And it looks much better than the old version!

Shane

Tuesday, December 18, 2007

OSCAR : Free Blender 3D fully Rigged Character from Shane Sheils


I present OSCAR, a free Blender 3D fully rigged character I created the other day.
OSCAR is an acronym for Open Source Character And Rig.

Download OSCAR here http://www.mediafire.com/?dcdkxkmtx1f

The armature used to control OSCAR allows a good range of animation and it's really simple to use.

You can download him from the here http://www.mediafire.com/?dcdkxkmtx1f
My only stipulation is that OSCAR or any derivatives you make based on the character cannot be sold as a standalone package or as part of a model collection.
Apart from that stipulation, you can use OSCAR for all your personnal, learning or even in commercial works.
Of course it'd be nice if you let me know where you've used OSCAR!

The file is compressed with 7Zip (which if you don't have you can download from http://7Zip.org. It's the best compression software, by the way).
The file contains a txt document outlining the license and instructions for the character rig.
If you don't have Blender 3D you can download it from here http://www.blender.org
Blender is a free Open Source animation and modelling suite and it's what I used to create OSCAR.

So, anyway, enjoy the character and rig!
http://www.mediafire.com/?dcdkxkmtx1f

NOTE: this is a newer version of OSCAR, with a number of fixes!

Monday, December 17, 2007

Work in Progress: "O.S.C.a.R" - Open Source Character and Rig


Since it's Christmas time, I've decided to give away a 'present' of a free fully rigged character.
He's called O.S.C.a.R - it stands for Open Source CharacterAnd Rig. Cheesy, eh?
He's a big, blue cartoony creature thingy!
I modelled the character a few nights ago and at the moment I'm rigging him. He should be ready very soon.

The model and rig will be Open Source: this means that you can use the character and rig freely. The only stipulation is that you cannot sell the character mesh or include it in any collection of mesh's for sale. the .blend file will contain all relevant information.
I've designed the character mainly for training purposes for Blender 3D users, so that you can practice animation or whatever!

Well, as soon as Oscar is ready I'll make him available for download.

Shane
Dwarfed Films

Monday, December 10, 2007

Slimmed down Office Hours model


Two new images.
The top one shows the better eye's I made for the character.
The bottom image shows the character after being 'slimmed down' a bit. He was much too fat before and animating him was sometimes tricky. The textures are temporary and not correctly UV mapped.

Thursday, November 15, 2007

Office Hours: corridor shot


A corridor shot from Office Hours.
The image is very small but if you click on it it will get a little bigger(but not much).
We felt that earleir versions of the corridor were a little "uninteresting" and bland. I've made the corridors and settings much narrower, darker and moody. Steam will fizz out from vents and little extra atmospheric touches like that.

Keep tuned to the site for more

Tuesday, October 30, 2007

New Image from OFFICE HOURS film


Here is a brand spanking new image from Office Hours.
Click on the image to view it larger. The picture has been reduced by 50% compared to rendered version.

Leave a comment on the site.

Tuesday, October 16, 2007

OFFICE HOURS: Hair (Again!)


Well by now I'm sure you know how much I like the new Jahka particle system in Blender. It really is a good as I've made it out to be. Hair modelling was always a pain but now it's become something I like doing!
The image above (which is a zoom-in from a larger image, by the way) shows the old and new particle systems side by side. The hair on the characters head is Jahka stylee. while the eyebrows and beard are the old method. Kinda obvious which looks better, isn't it? :)

One thing though that I've noticed from trying out the experimental particle build of Blender: the little button in UV options which you normally click to make all selected polygons the same type (ie; alpha enabled, or nor, etc) isn't there. Kinda annoying, but you can always do that stuff in the regular version of Blender and then import it back into the experimental build by appending...
Oh, and by the way if anyone can't find the UV mode in the experimental build it's accessable by selecting "Edit" mode, then in the little box beside it where you change view modes, just select "Texture Mode" icon. It's actually much more user friendly that way than the previous versions.

Leave any comments on the site.#

Tuesday, October 09, 2007

Basic NEW particle System Tutorial

Following on with my tests with the great new particle hair system I thought I'd put together a simple basic tutorial on how to use it for anyone out there not familiar with it.

The file is a .EXE executable that you can download from here or
http://www.mediafire.com/?8kmmr0yanud
The file is compressed with 7Zip. You can download 7Zip free from 7zip.org.
(Note: this is from Mediafire.com upload site. The previous crappy upload site failed)

Or even better yet, Download the NEW 10 Minute Blender Particle Hair Tutorial (Jan 2008) provided in PDF format. It covers the basics of particle hair creation, hair material and render layers.
http://www.mediafire.com/?cjdnjllzotz


Once downloaded, uncompresss the file, then just select the file and follow the on screen instructions to move through the images and descrpitions - it's as simple as that. To exit the tutorial press the escape "ESC" button on your computer.

Below is an image created using the new particle hair system. Click on the picture to view it large. The hair literally took about 20 seconds to make. It's rough but it does go to show how siple the new Jahka particle system is to work with.


Again, download the BASIC JAHKA PARTICLE HAIR TUTORIAL from here.

Download the NEW 10 Minute Blender Particle Hair Tutorial (Jan 2008) provided in PDF format.
http://www.mediafire.com/?cjdnjllzotz

Edit 23/Jan/2007: This is a newer version of the PDF Tutorial provided in a compressed .Rar format. It includes more detail and tips.

Any questions or comments post 'em on the site.

Monday, October 08, 2007

OFFICE HOURS: Blender Particle hair


Here are some images with descriptions regarding some tests I've been doing with the latest version of Jahka's particle system for Blender 3d.
Stying 3D hair has been made a whole lot easier with this version.

Click on the images to view them full size with detailed descriptions and advice.


You can download the experimental version of Blender 3d here.
Or you can download the latest stable version of Blender (v2.45) from it's homepage.

Email Dwarfed Films or leave a comment on the site

Friday, October 05, 2007

Blender 3D - experimental particle version

Ok, yesterday I downloaded an experimental version of Blender which is still a work in progress. The reason I wanted to get my hands on it was for the new particle system. And although it's a little buggy and tends to crash quite a lot, the updated particle system looks really great!

On Office Hours I experimented with lots of different ways of "doing" hair and if you look back over previous posts( by hitting "hair" or "particle hair"in the TAGS) you'll have seen the various tests I've tried to acieve a believable - though not necessarilt realistic - look. The female chracter in Office Hours has been proving a problem in the hair department. I've tried particles before and then reverted to UV mesh-style options. So far I have'nt been satisfied with how it looks. From some angles and with certain lighting it can look and move alright but it is a really difficult thing to get just the way I want it to be.

So back to the Experimental version of Blender. In previous and the current stable official release of Blender, hair is formed by using curve guides on a mesh that has a number of particle effects applied to it. To get a vaguely real-looking hairstyle can take anywhere from 6 to 20 curve guides and an awful lot of time twaeking and testing. Also - and this is a major downer - the hair must be split up into different groups such as "left side", "right side" and "fringe", and each of these must be kept on seperate layers. This is because the curve guides affect only the layer that they are on, but it means that you can end up wasting at least 2 or more layers just for hair - and Blender offers 20 layers (This may seem a lot but whenyour animating a character in a scene and the scene has lots of locations and cars and other objests which each need their own seperate layer for easy access it can become very annoying).

The new particle system uses a different method. You physically "comb" and ""cut" the hair - a bit like the "Sculpt Mode" modelling tools added a couple of releases ago. This is a more intuitive way of "making" hair. You push, pull, comb and chop the hairstyle you're looking for. I'm testing it out at the moment to see if I can make better hair for the female character in the film. Early tests have proved hopeful but I gotta keep trying to make her hair work.

Ok, at the moment it is buggy and prone to crashing but this is a major strp forward - in my humble opinion - for Blender. Modelling hair is one of the most hardest things to do in 3D animation and at last the workload of Blender users may just have gotten a little more manageable!

You can download the experimental build of Blender with the particle hair system here.
So far it is only available for Windows operating systems I think.

Email Dwarfed FIlms or leave a comment on the site here

Tuesday, September 25, 2007

Office Hours: more street location stuff


Two new images from Office Hours, the film directed by Shane Sheils & Paula Sheils and produced by Dwarfed Films.
Both are of the same street scene, except the bottom image features a couple of cars.
Click on the images to view the images larger. Pictures are at 1/2 scale.

Email Dwarfed Films or leave a comment on the site.

Thursday, August 16, 2007

Office Hours: more car images


Two ne images from Office Hours, showing a red car and a smaller green one.
The narrow-lookingframe size of these in these pictures will be the frame size of the completed.
film.

Email Dwarfed Films or leave a comment on the site

Wednesday, August 15, 2007

OFFICE HOURS: new car model


Here are some brand new images from Office Hours.
They show a new 3D car model designed for the film's street scenes.

Click on the images to view descriptions and images full scale.

As always you can email Dwarfed FIlms or leave a comment on the site